Equipment
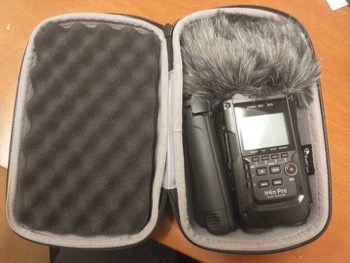
Here is a list of recommended equipment for conducting oral history interviews. Also, smartphones equipped with a recording app can also produce high-quality recordings, especially when used with a Lavalier microphone.
- Handheld audio recorder
- Zoom, Tascam, Olympus, Sony all make quality recorders. The project has three Zoom H4N Pro recorders available to borrow. Please reach out to Thomas Cleary ([email protected]) to use them. See below for more info.
- Directional microphones will isolate the sound of the interviewee better than omnidirectional microphones
- Small desktop tripod to help reduce vibrations and table bumps. If you are conducting an interview in a place without a table, consider a larger tripod to raise the recorder mostly level to the speaker
- Wired headphones for audio playback
- SDHC or microSDHC card, depending on the recorder
- Extra batteries
- External hard drive or reliable cloud storage for file and data backup
- A smartphone with a voice memo or other recording app on as backup
- To support local NYC businesses, B&H and Adorama provide excellent selections of equipment and fast shipping.
More on Equipment
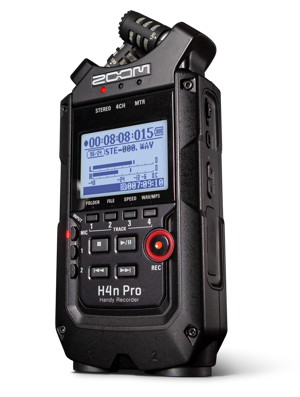 | 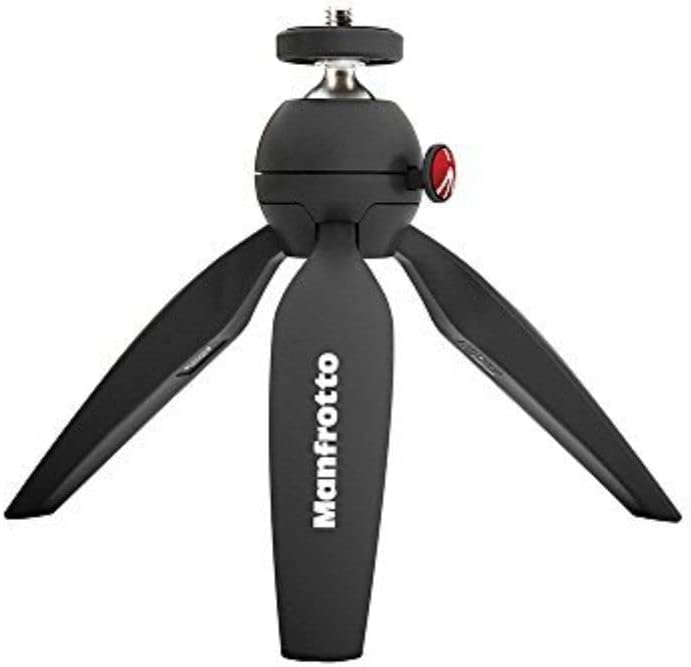 | 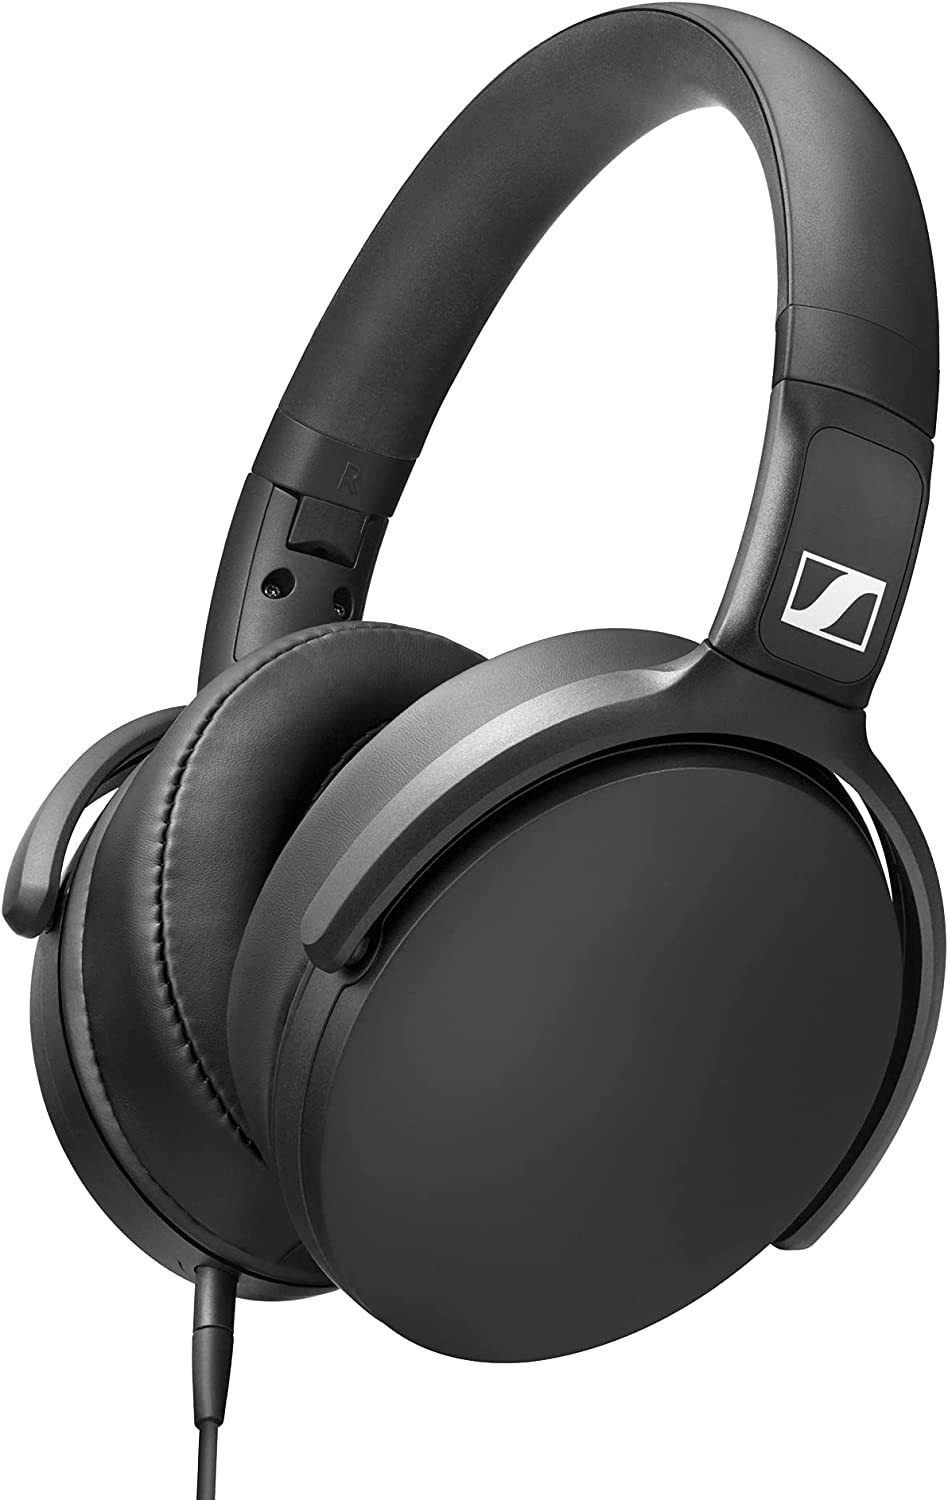 |
| The Zoom H4N Pro is a popular and versatile portable audio recorder. It offers advanced recording features and professional-level sound quality, making it ideal for oral history interviews. With its dual XLR/TRS inputs, built-in microphones, and support for external microphones, this device allows for flexible recording options in various situations. | Using a small tripod can reduce the occurrence of handling noise and vibrations that might be captured by the built-in microphones of the Zoom H4n. Our recommended choice for a desktop tripod is Manfrotto, but nearly all inexpensive tripods (approximately $10-15) will also suffice for a satisfactory outcome. | A wired headphone connected to the recording device is useful for checking audio quality. Cheap wired earbuds (about $10-15) will be sufficient, but many oral historians prefer using brands such as Sony, Sennheiser, Audio-Technica, Shure, and Audeze for over-ear headphones. These models provide excellent noise cancellation and give you a more professional appearance. Sony MDR 7506 headphones are used widely by audio and film professionals. |
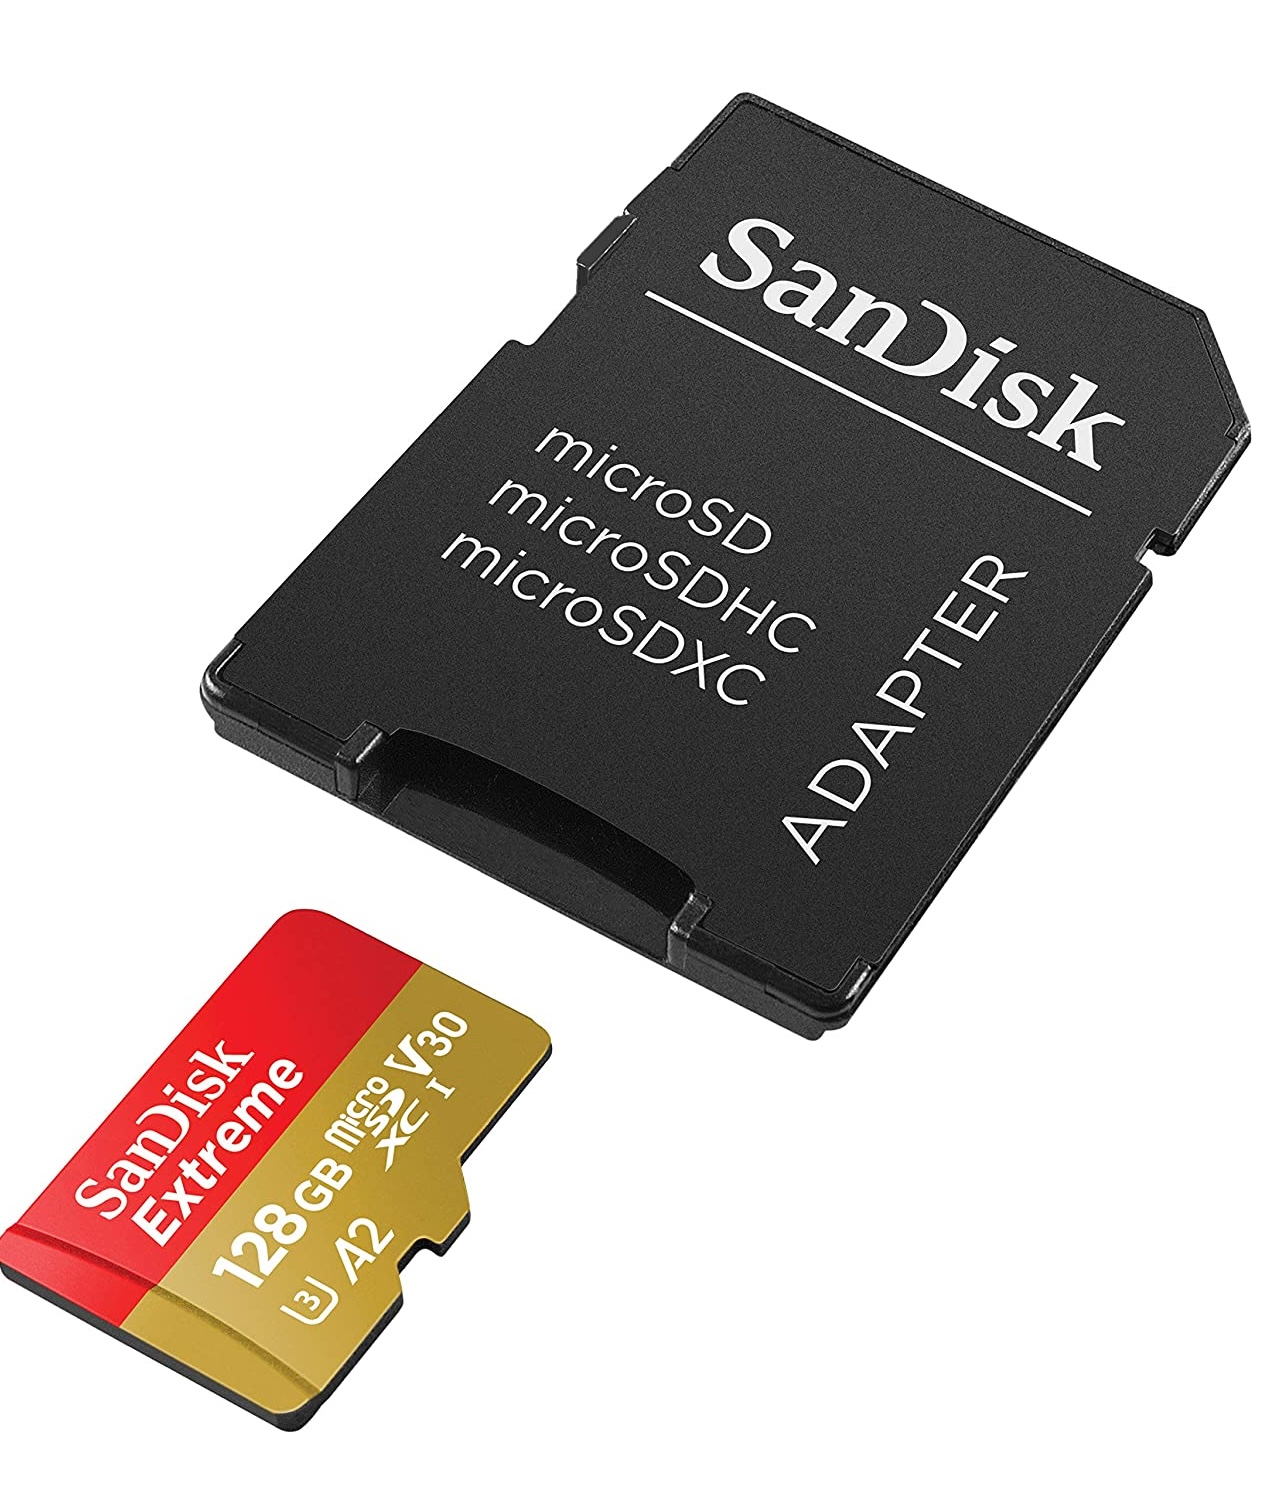 |  | |
| Audio data does not take up too much storage on hard drives or memory, and all handheld audio recorders use SD cards or micro SD cards to save files on the recorder. Reliable brands such as SanDisk, Samsung, Lexar, and Kingston offer quality SD/microSD cards. The smaller sizes in the market (e.g., 16GB or 32GB) will suffice for oral history interviews. | Backing up data is an essential practice in an oral history project. Data can be saved on an external hard drive or in a cloud data service such as Dropbox, Google Drive, iCloud, and Amazon S3. Our recommendation is Dropbox, which is supported by CUNY. With your CUNYFirst account, you will have unlimited backup space available on Dropbox. |
Optional equipment
- Lavalier microphone
- External microphones can be connected to most hand held recorders with a 3.5mm jack or an XLR jack. Check you recorder for compatibility.
 |  |
|
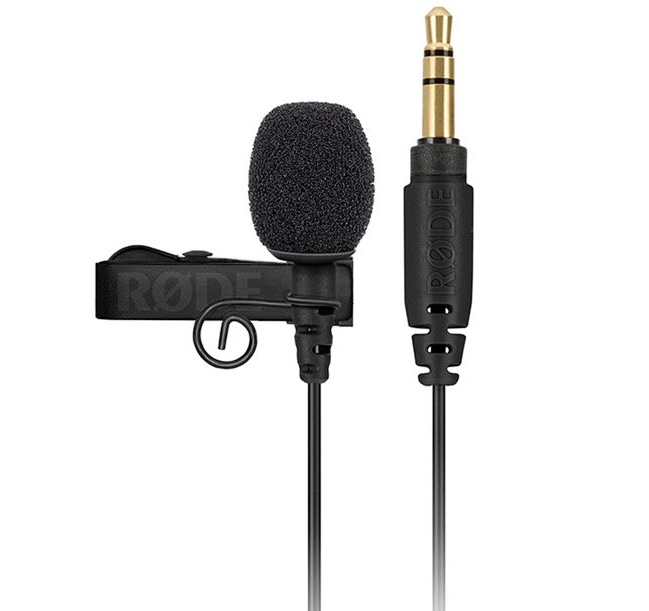
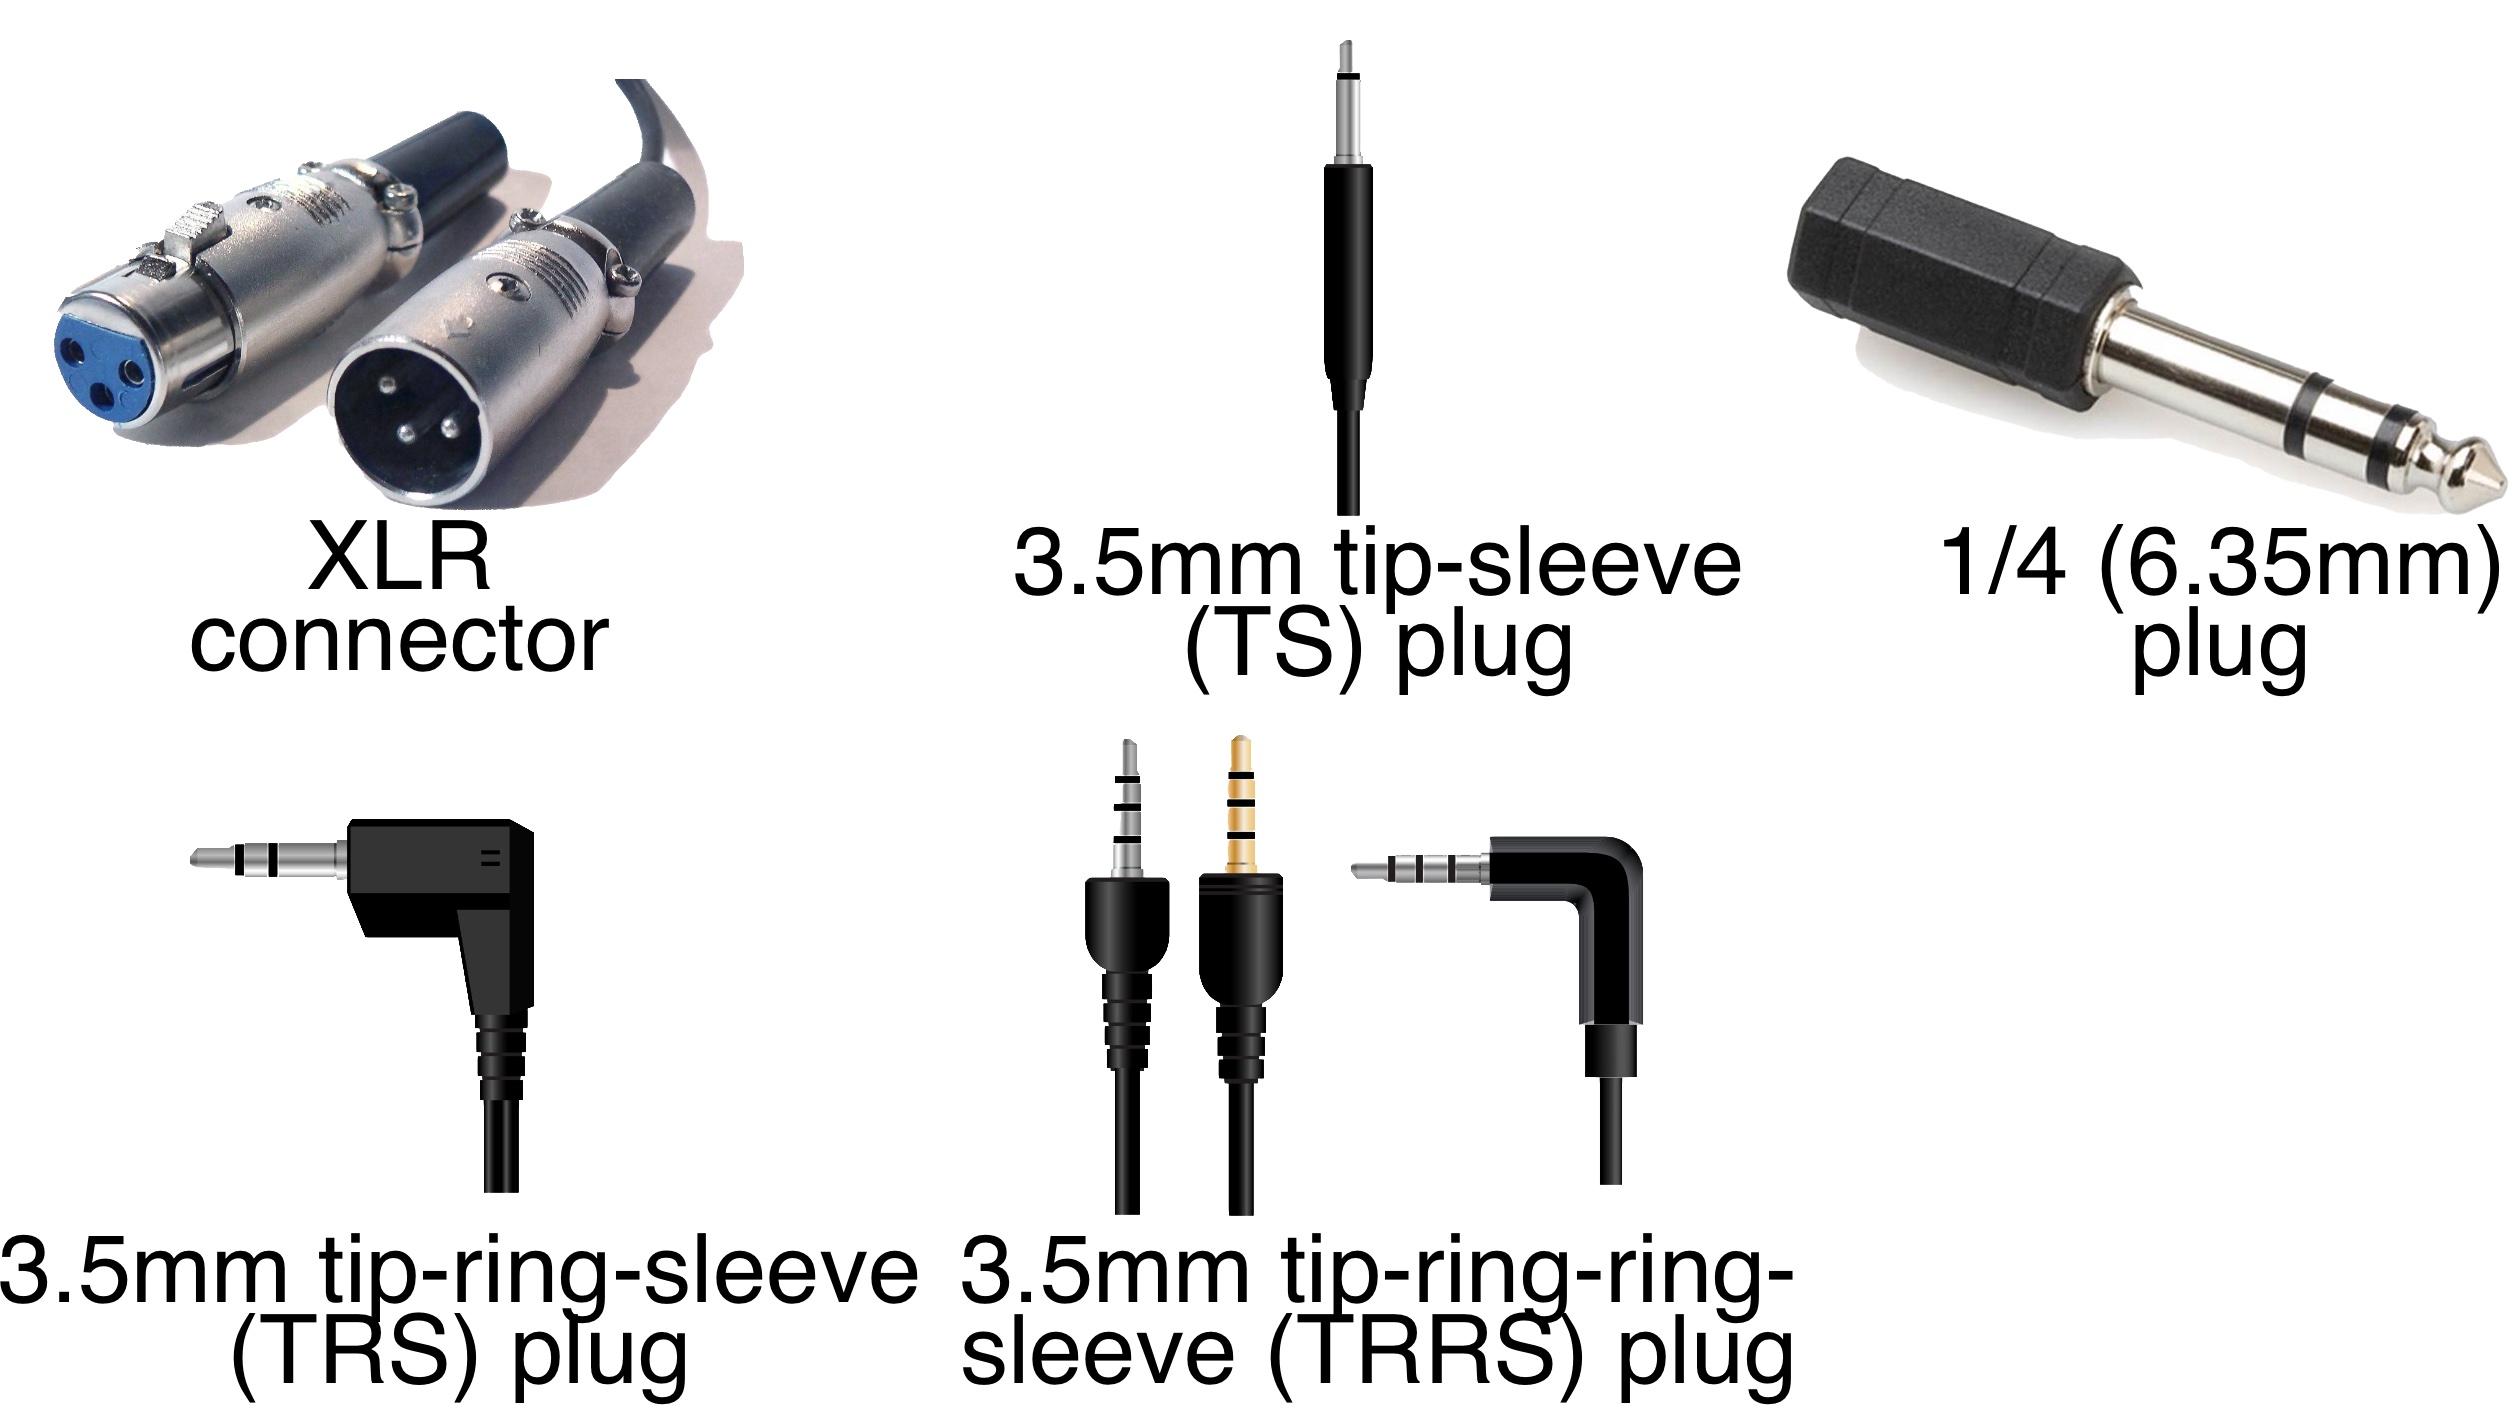
| Lavalier microphones are an excellent option that delivers high-quality audio with minimal noise. With a lapel microphone, you no longer need to worry about the placement of your recording device, as it effectively handles all audio concerns when positioned near the interviewer's face. Additionally, its discreet and unobtrusive appearance is less distracting for the interviewee compared to having an audio recording device in front of them. If you are not using a professional-level audio recorder (e.g., if you are using a cellphone etc), a lavalier microphone can produce audio recording very close to the professional-level quality. We recommend trusted brands such as Sennheiser, Røde, and Sony. For microphones, it is important not to compromise by using a cheap non-branded one. | Audio jacks come in three different shapes: XLR, 1/4", and 3.5mm. XLR connectors are commonly used for microphones in professional audio applications. They are typically three-pin connectors that provide a balanced connection, ensuring high-quality audio transmission over long distances. The 1/4" audio jack, also known as TRS (Tip-Ring-Sleeve), is a popular connector for audio equipment (such as music instruments). Finally, the 3.5mm audio jack, also known as a headphone jack, is a widely used audio connector found in a plethora of consumer electronics. The 3.5mm jacks come in different types, depending on the number of conductors. The most simple type is the mono jack, which has two conductors - the tip and sleeve (known as TS). Mono jacks are used for single-channel audio signals, often found in electric guitars and amplifiers (very typical among 1/4" jacks). Stereo jacks have three conductors - the tip, ring, and sleeve (known as TRS). Stereo jacks are used for two-channel audio signals, allowing for left and right audio channels to be transmitted separately. In addition to mono (TS) and stereo (TRS) jacks, there are also Tip-Ring-Ring-Sleeve (TRRS) jacks. TRRS jacks have four conductors, with the last one used for headphones with integrated microphones. Headphone jacks are usually designed for a specific type (usually either TRS or TRRS -- iPhone is TRRS, for example). You should check which shape and type of audio jack you need to use with your recording device. |
|
Oral History Recording Kits
We have limited oral history recording kits available in the Library, please contact Thomas Cleary ([email protected]) to borrow one. The kit consists of:
- 1x Zoom H4N Pro audio recorder with windscreen including SD card
- 1x mini tripod
- 2x spare rechargeable AA batteries
- 1x protective case
- 1x set of Senal SMH-1000-Mk2 headphones
Recording tips
- Checking the Zoom H4n recorder
- Check the Zoom H4n recorder
- Full AA batteries last about 6-10 hours. Use new batteries if you are not sure how old they are.
- Make sure that there is a SD card in it
- Check if the date and time are set correctly
- Configure the Zoom recorder
- Press and hold the power button until the device turns on.
- WAV is preferred (44.1kHz/16-bit is good enough), but it becomes large very quickly (about 300MB for a 30-minute recording).
- Try MP3 in high-frequency mode (256kbps or 320kbps) if you don’t want to convert audio files for your production.
- File formats
- Most recorders have an option to set the file format you record to.
- In the settings, select to save as a WAV file with a 48 kHz/16bit sample rate/bit depth or the next highest setting your recorder has as an option.
- This will ensure the highest quality audio is saved and allow you to make MP3 derivatives with minimal audio loss.
- 60 minutes of audio in a 48k/16bit WAV file uses about 635 Megabytes of storage space.
- Recorder placement
- Place the recorder so the microphones are pointed towards the interviewee.
- If the recorder has adjustable microphones, put them in the directional or A-B position
- Zoom H4N recorder are locked into an A-B position
- If using a lavalier microphone, clip the microphone to the interviewees shirt collar and connect the jack into the recorder’s “Mic in” or “Ext Mic” plug
- Pick a space to record in that has minimal background noise.
- Pay attention to noise and hums from things like fans and traffic. Use the low pass filter (Mic Lo Cut) at 80Hz if you are conducting an interview in a noisy environment.
- If you are in an interviewee’s home, do your best to keep pets and other household members that may interrupt or make unwanted noise in a separate room.
- Adjust the XY microphone’s directivity to 90° (two people sitting within the 90-degree limit—in other words, fairly close to each other) or 120°.
- Recorder volume
- Practice setting input levels before trying to interview people.
- Set your input volume so the sound “peaks” around 75% to maximum
- When in monitor mode you should see two bars moving in relation to how loud sounds are. The bars should “peak” to fill about 75% of the whole bar. If the bars fill the range it will cause distortion
- Adjust gain (input sensitivity) if the levels are too low or too high. The aim is to have levels that peak around -12 dB to -6 dB for clear audio without distortion.
- Explore your recorder settings for an “auto limiter,” “auto level” or “peak reduction” option. These options give the recorder control to automatically set the input to an ideal level.
- Once recording levels are set, check levels by recording some sound and playing it back. To check recording quality, set your output or headphone volume at 50% or less for accurate sound level.
- Once all settings are confirmed, press the “Record” button (a red dot) to start recording. You may have to press the button twice.
Audio Processing
- Audacity (https://www.audacityteam.org/) is a free and opensource audio editor and recorder that will allow you to edit WAV files and export them as MP3 files. If you are using a laptop or computer to record, Audacity works with most USB microphones.


